
Core Process: Overhaul follows a strict sequence: diagnosis, removal, disassembly, meticulous inspection, reassembly with new parts, and re-installation.
Critical Step – Timing Marks: For twin countershaft designs (common in Fast Gear models), correctly aligning gear timing marks during reassembly is absolutely non-negotiable.
Inspection Focus: Thoroughly check synchronizers (blocker rings, sleeves), gear teeth for pitting, all bearings and bushings, and the main case for cracks or wear.
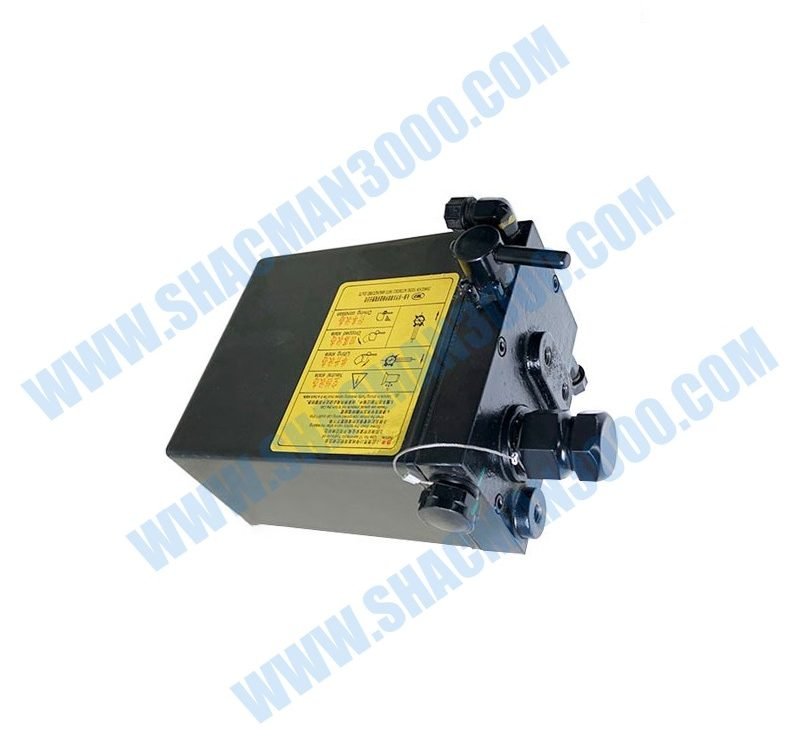
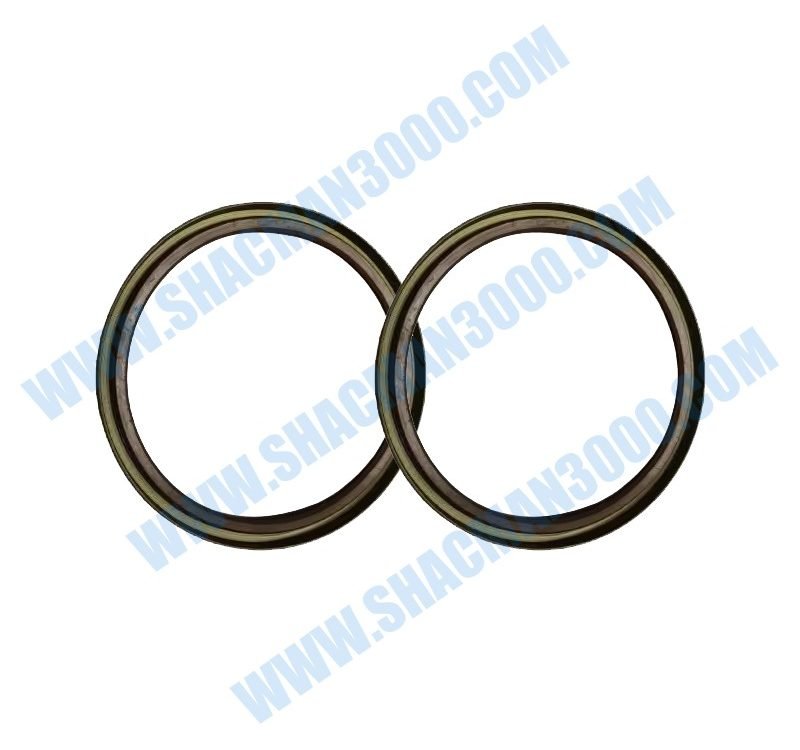
Tools & Parts: Requires specialized tools (bearing pullers, press, torque wrench) and genuine SHACMAN or Fast Gear gasket, seal, and component kits for a reliable rebuild.
Post-Overhaul: Refill with specified GL-5 grade oil (e.g., 85W-90), perform system checks, and follow a careful break-in procedure.
Shacman Manual Transmission
A successful overhaul of a Shacman manual transmission begins long before the first bolt is turned. Accurate diagnosis is key to planning the repair. Common failure signs include grinding or whining noises in specific gears, difficulty shifting, jumping out of gear, or visible oil leaks. Draining the transmission fluid and inspecting the drain plug magnet is a crucial first check. Excessive metal particles or chunks indicate serious internal damage, while fine metallic paste is typical wear.
Once overhaul is confirmed, safe removal is paramount. Park the Shacman truck on a level, solid surface and engage the parking brake. Disconnect the negative battery terminal. Place wheel chocks securely. You will need a transmission jack rated for the heavy weight. Drain the gear oil completely. Remove the propeller shaft(s), shift lever linkages, clutch housing cover, and all electrical connectors (for speed sensors, reverse light switch). Support the engine securely, then unbolt the transmission mounting points. Carefully slide the Shacman manual transmission assembly rearward, clearing the clutch disc splines, and lower it with the jack.
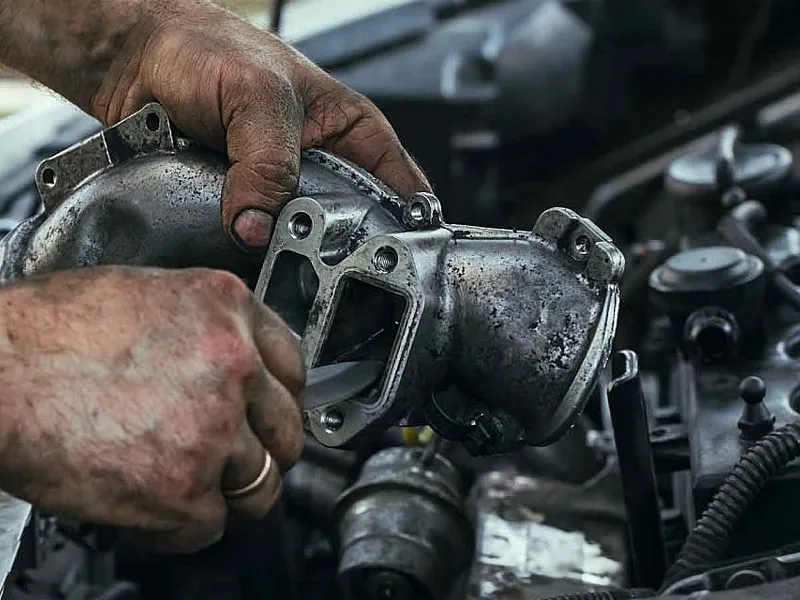
This phase requires methodical work and a clean environment. Start by thoroughly cleaning the exterior of the transmission. Document each step with photos and organize parts. Remove external components: the PTO cover, the top cover (shift housing), and the clutch housing/bell housing. Note the position and shimming of bearing caps.
The main case separation is critical. After removing all perimeter bolts, gently tap the case halves apart using a soft-faced mallet. Avoid prying on machined sealing surfaces. Often, the main shaft and countershaft assemblies can be lifted out together. Disassembly of the gear train requires bearing splitters, a hydraulic press, and patience. Carefully press shafts out of bearings, remove snap rings, and slide off gears and synchronizer assemblies. Lay everything out in order on a clean bench.
Inspection is the heart of the overhaul. Examine every component. Check gear teeth for pitting, spalling, or excessive wear. Inspect synchronizer assemblies meticulously: the brass blocker rings’ internal teeth and conical friction surfaces must be in good condition. The synchronizer hub and sleeve splines should not be rounded or galled.
Check every bearing for smooth rotation, free of noise or roughness. Inspect shafts for wear at bearing and seal surfaces. Look for cracks in the main case, especially around bearing bores. Using micrometers and dial indicators as per the manual, check specified tolerances for gear backlash and shaft endplay.
Reassembly is not the reverse of disassembly; it’s a precise reconstruction. Ensure all parts are spotlessly clean and lightly coated with clean gear oil. Begin by rebuilding the main and countershafts on the bench using a press and proper mandrels. This includes installing bearings, gears, spacers, and synchronizers. Pay extreme attention to the orientation of synchronizer springs and keys. A common and critical step for twin-countershaft Shacman manual transmission designs is aligning the timing marks between the main shaft gears and the countershaft gears. Incorrect alignment will lead to catastrophic failure upon startup.
Install new bearings using proper drivers. Always use new snap rings and measure endplay after assembly. Once the gear train is assembled, carefully lower it into the clean lower case half. Apply the correct sealant or gasket to the case mating surface. Join the case halves, guiding the shafts carefully. Tap with a rubber mallet to seat. Tighten case bolts in the specified criss-cross sequence and to the exact torque value from the SHACMAN service manual.
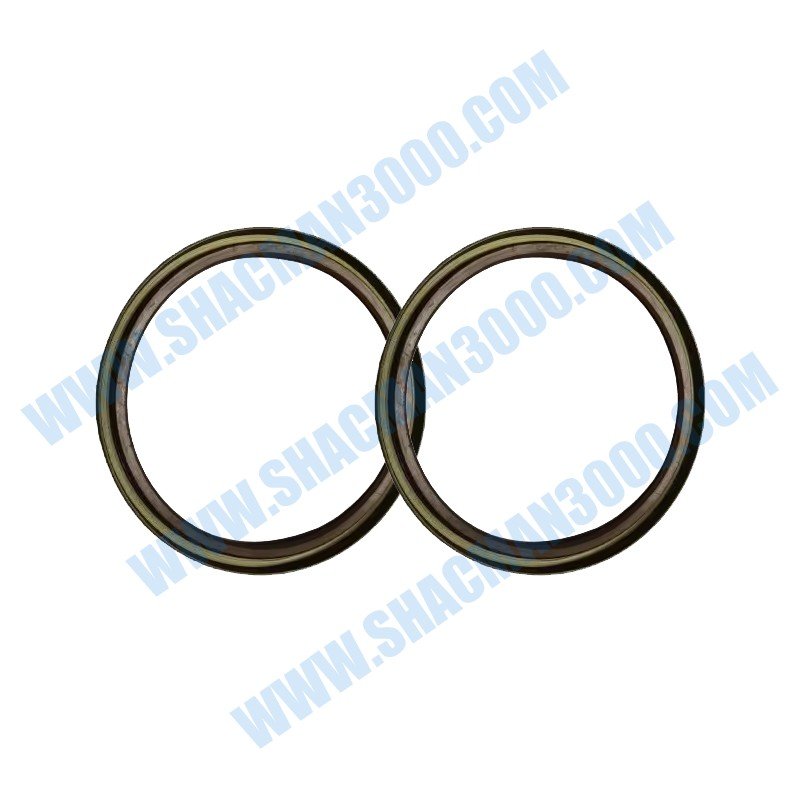
Don’t neglect the auxiliary or range section (on multi-speed transmissions) and shift mechanism. Inspect the range shift piston, seals, and air system for leaks. Check the condition of the range section synchronizer. Reassemble the top cover, ensuring shift forks are correctly engaged with their corresponding synchronizer sleeves and that detent springs and balls are in place.Install new input and output shaft seals using seal drivers to prevent leaks. Reattach the clutch housing, ensuring alignment dowels are in place. The overhaul of the core Shacman manual transmission unit is now complete.
Reinstallation is the reverse of removal, with added care. Ensure the clutch disc is perfectly aligned with a pilot tool before mating the transmission. Do not let the transmission weight hang on the input shaft. Tighten all mounting bolts to spec. Reconnect shift linkages, driveshafts, and all wiring. The next critical step is lubrication. Fill the transmission with the manufacturer-specified type and quantity of gear oil, typically a high-quality API GL-5 rated fluid like 85W-90. Do not overfill.
Before a road test, perform a static systems check. With the vehicle raised and securely supported, start the engine. Depress the clutch and cycle through all gear positions. Listen for unusual noises. Check for fluid leaks. For the initial road test, choose a safe, flat area. Operate the transmission gently through all gears under light load. Pay attention to shift feel, noise levels, and any tendency to pop out of gear. Allow the transmission to warm up gradually.
A proper break-in period, often the first few thousand kilometers, is recommended for a rebuilt Shacman manual transmission. During this time, avoid excessive loading and heavy shock loads to allow new components to seat properly. To learn more about maintenance schedules and specific models, visit our dedicated resource portal.
Understanding common failures aids diagnosis. Hard shifting or grinding is often due to worn synchronizer blocker rings or damaged shift forks. A transmission that jumps out of gear usually points to worn gear teeth, detent springs, or shift linkage issues. Constant whining or roaring noises typically indicate bearing failure. Oil leaks commonly originate from worn input or output shaft seals or a damaged case gasket surface.
Never guess on torque values; always use a calibrated torque wrench and the official manual. Replace all bearings and seals during an overhaul; they are wear items. When working on a Shacman manual transmission, cleanliness cannot be overstated. The smallest piece of grit can cause premature failure. Consider replacing the clutch assembly, release bearing, and pilot bushing/bearing while the transmission is out for access. If you are not confident in your mechanical skills, tools, or ability to follow precise tolerances, seeking a professional heavy-duty truck mechanic is a wise investment.
A successful overhaul relies on the right information and parts. The single most important document is the official SHACMAN or Fast Gear service manual for your specific transmission model (e.g., 10JSD, 12JSD). This provides exploded diagrams, torque specs, clearance data, and special procedures. Genuine SHACMAN or OEM-equivalent parts kits are highly recommended for gaskets, seals, synchronizers, and bearings to ensure compatibility and durability. Online parts catalogs and forums can provide supplementary information and cross-reference part numbers. Having these resources at hand before starting your Shacman manual transmission overhaul project is crucial for a smooth and successful rebuild.
Overhauling a Shacman manual transmission is a significant but rewarding task for a skilled technician. It demands precision, patience, high-quality parts, and strict adherence to technical data. This guide outlines the fundamental workflow and critical checkpoints, from initial diagnosis through final testing. Remember, the manufacturer’s service manual is your ultimate authority. By following a methodical approach, respecting tolerances, and prioritizing cleanliness, you can restore the reliability and performance of your Shacman truck’s drivetrain for many kilometers to come. Whether you undertake the project yourself or use it to inform discussions with a specialist, understanding the overhaul process is invaluable for maintaining these robust vehicles.


